It’s been a while! I’ve missed posting a few trips but I just wrapped up a a few days with a friend to Yosemite for the Half Dome lottery and wanted to record my thoughts on it while they were fresh!
You do need a permit to hike Half Dome and can either apply with the daily lottery or can apply in March on the recreation.gov website (which is how I got my permit – see more details on the permitting system).
- Day 1: Arriving in FAT and driving to Yosemite
- Day 2: Exploring Yosemite National Park
- Day 3: Hiking Half Dome
- Final Thoughts
- Tips for Yosemite
- Tips for Half Dome
- Recommended Packing List for Half Dome
Day 1: Arriving in FAT and driving to Yosemite
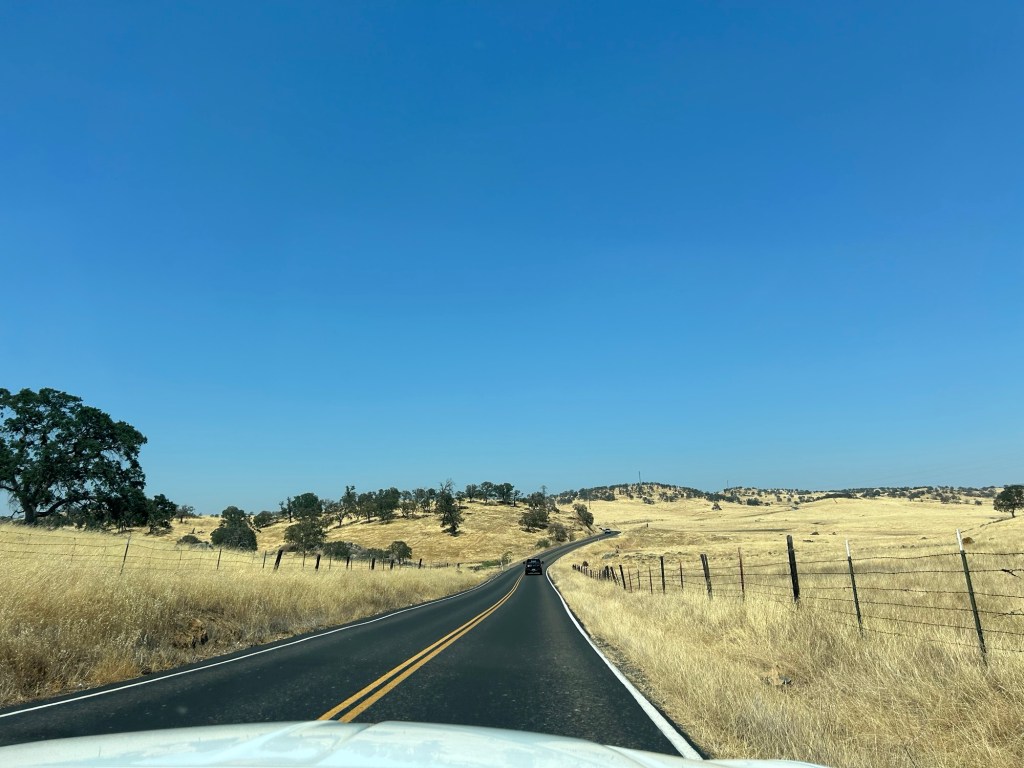
On Sunday, we flew into Fresno Yosemite International airport, which was the closest airport to the park. We rented a car (honestly a horrible experience with the Budget person) and drove the 2 hours to the Yosemite area.
We drove in through Merced and out through Mariposa. I definitely think the drive through Mariposa is prettier, though very winding. Honestly, the drive is a little bleak and dry each way in July until you get close to the park.
We were staying in a cabin at Thousand Trails Yosemite Lakes, which I would highly recommend! There was a fan in the room, minifridge, and plenty of outlets (though our overhead light was broken). We had read some negative reviews about the bathrooms but they seemed to be newly redone and very nice! Great shower pressure and warm water. The site has a gas station and convenience store nearby and very tiny mini golf section and river access. Overall, great stay location and would stay there again!
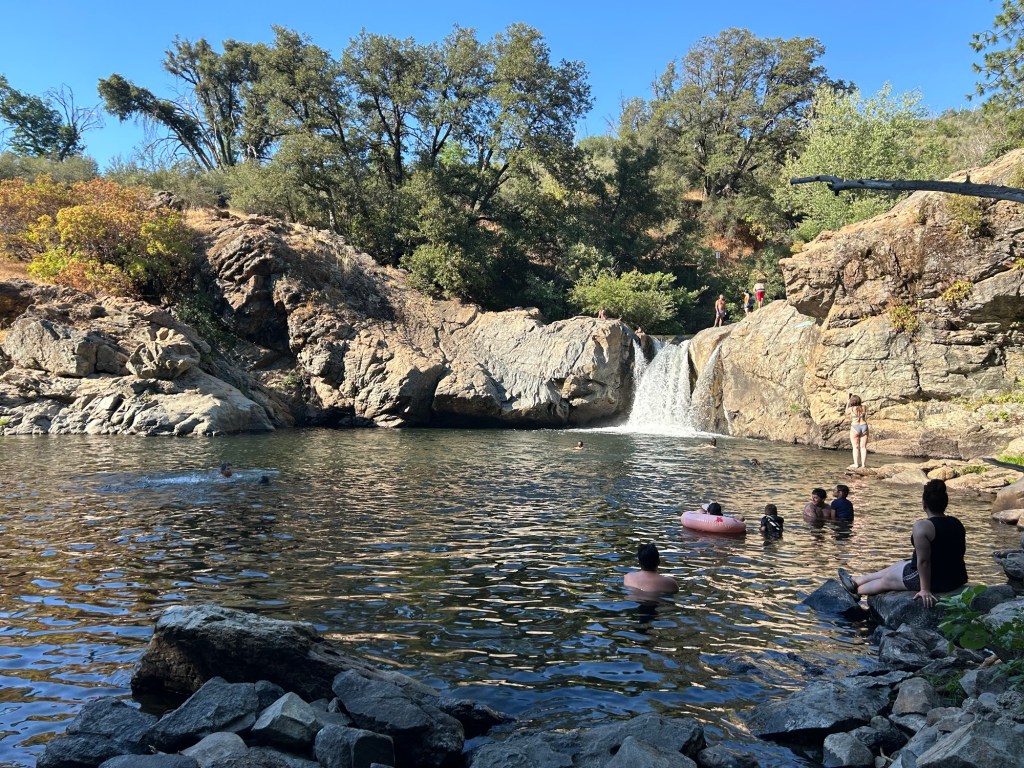
They gave us some great recommendations for activities outside of the park, so we checked out Rainbow Pool in the afternoon. It was a $10 entry fee per vehicle (not sure if they took card but I paid with cash) and it was definitely worth it! It’s a lovely swimming pool with a sliding / jumping rock. I was too chicken to try it (it looked terrifying) but there were children doing it and everyone said it wasn’t too bad. It was great swimming there and really helped beat the 100+ degree weather.
We grabbed dinner at Lucky Buck Cafe, which had a great menu with a hefty vegetarian selection (but no wifi). I would definitely recommend it and it was very affordable for being one of the few restaurants in the area.
Day 2: Exploring Yosemite National Park
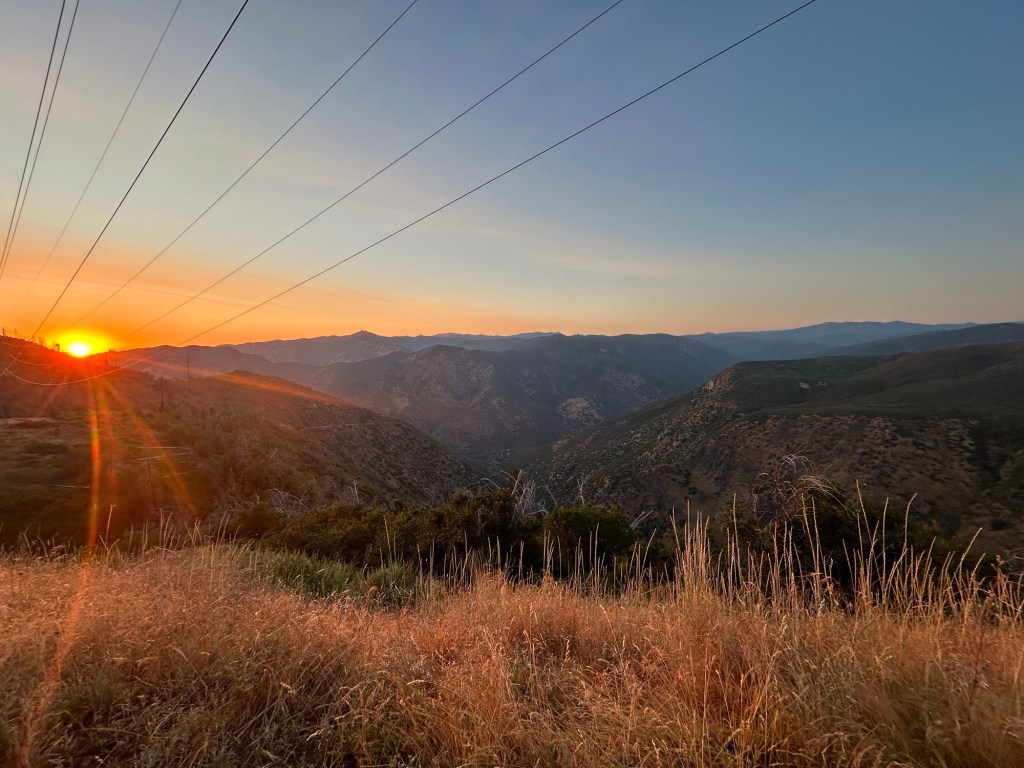
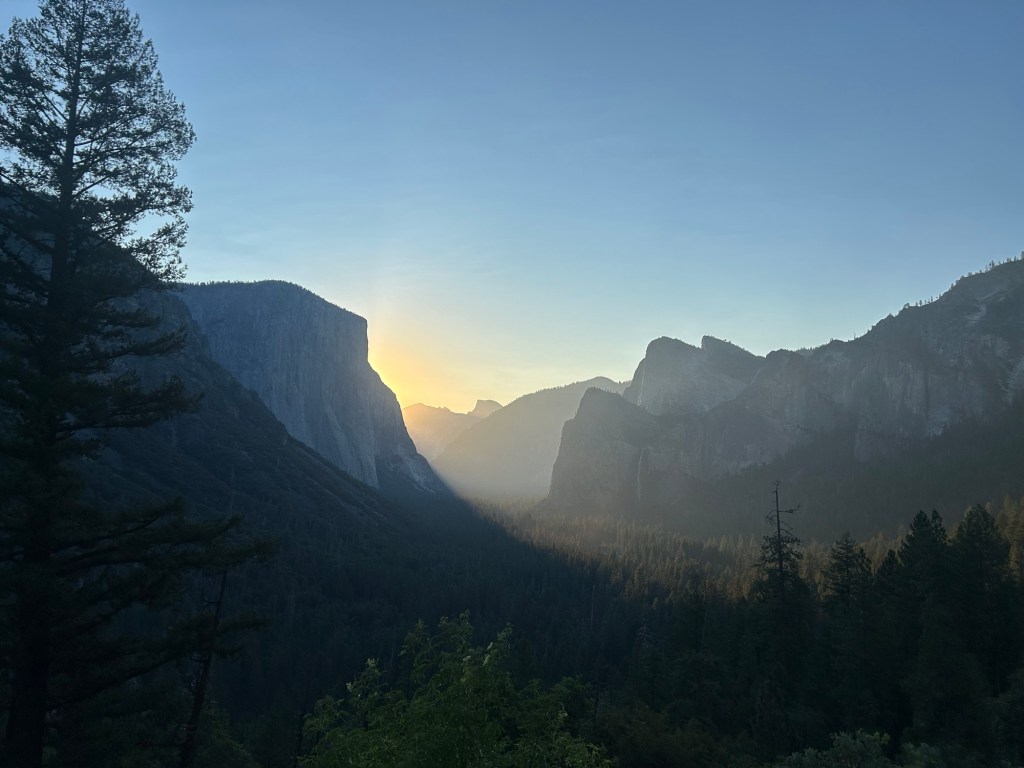
Monday was our tourist day in Yosemite and we hit the major sights in Yosemite Valley. We entered the park at 4:30AM (because we didn’t have a reservation, see my Tips below) through the Big Oak Flat entrance and watched the sunrise from Tunnel View 5-6AM, which was a great viewing spot! Definitely get there early as spots in the two lots fill up by sunrise.
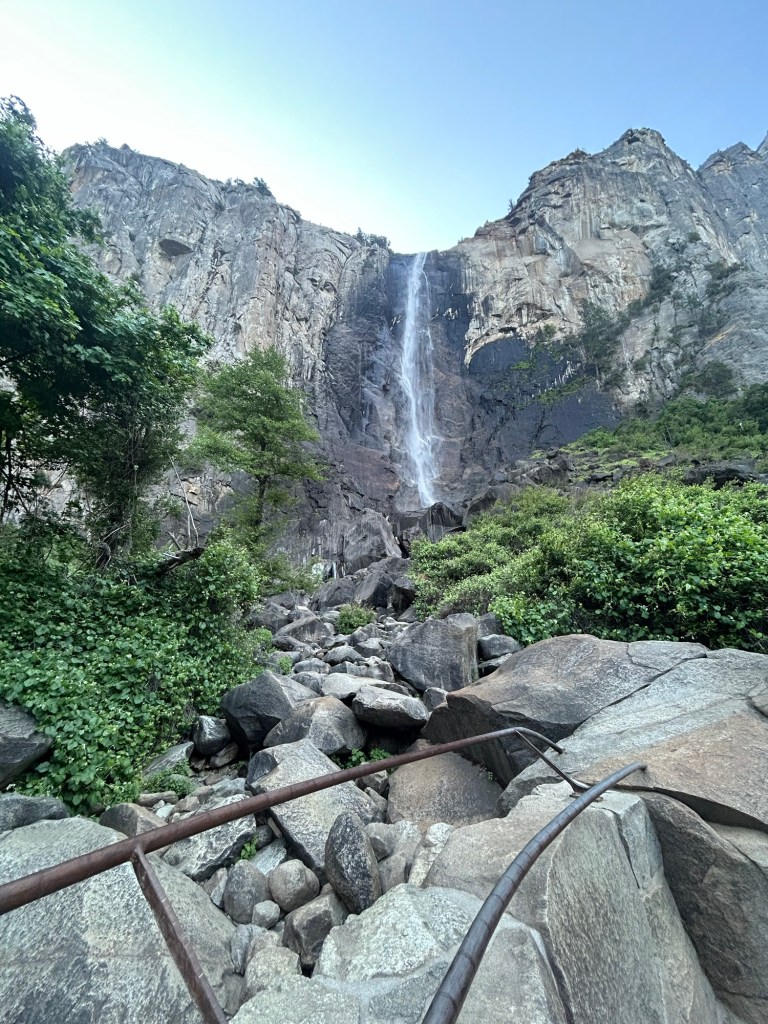
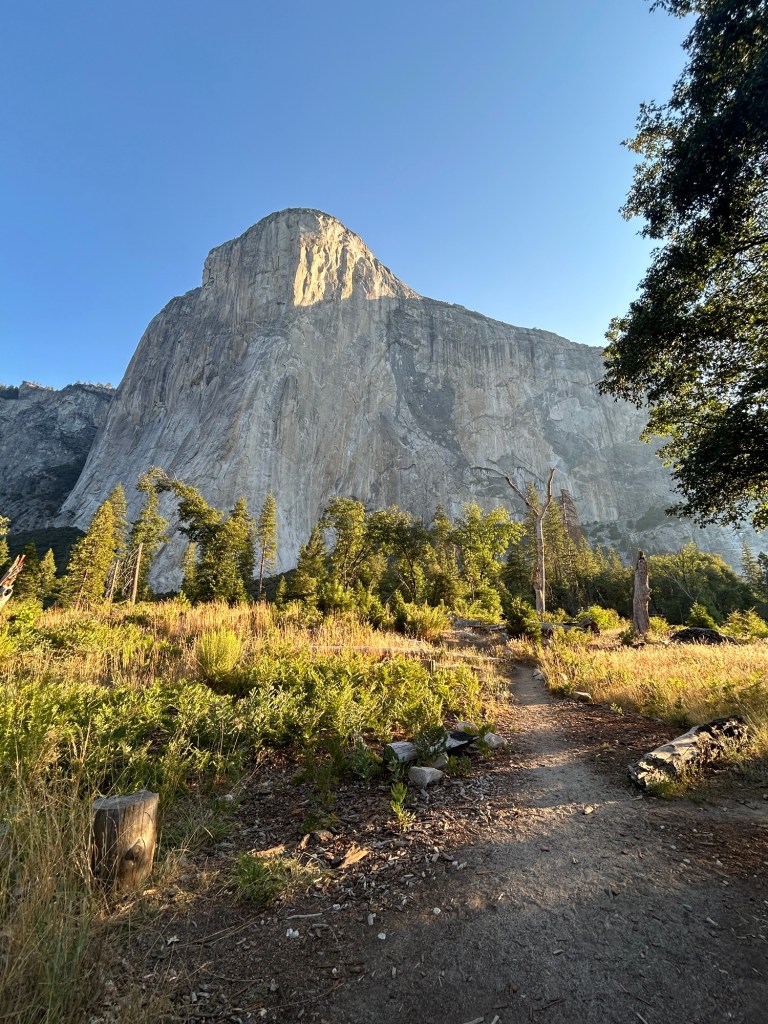
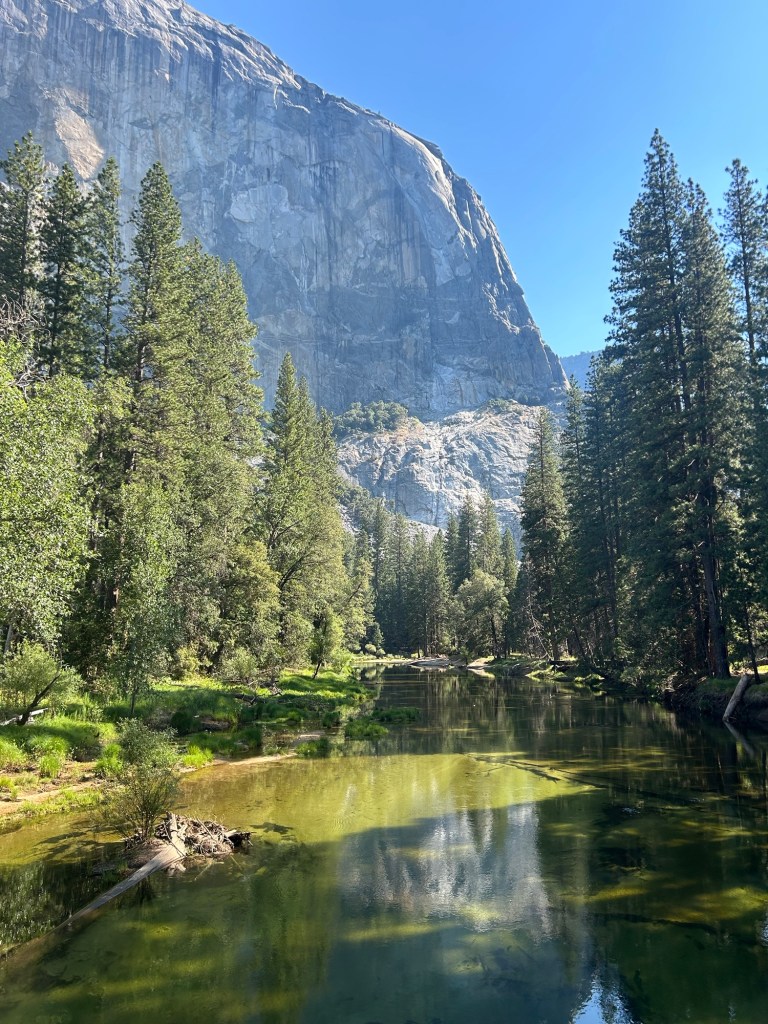
After sunrise, we hit up these sights in the Yosemite Valley, which are all very close together (note: many roads in the valley are one-way), including Bridalveil Fall and El Capitan Meadow – which made for great photo spots (and not crowded at 7AM).
In addition, we hit the Welcome Center & Village Store (along with the Ansel Adams Gallery & museum) and a food hall in the area that included a Starbucks and several options for breakfast. We found that food in the park was actually really good and affordable, which was a pleasant surprise! And all of the many gift shops and convenience stores sold beer and wine, even hard alcohol!
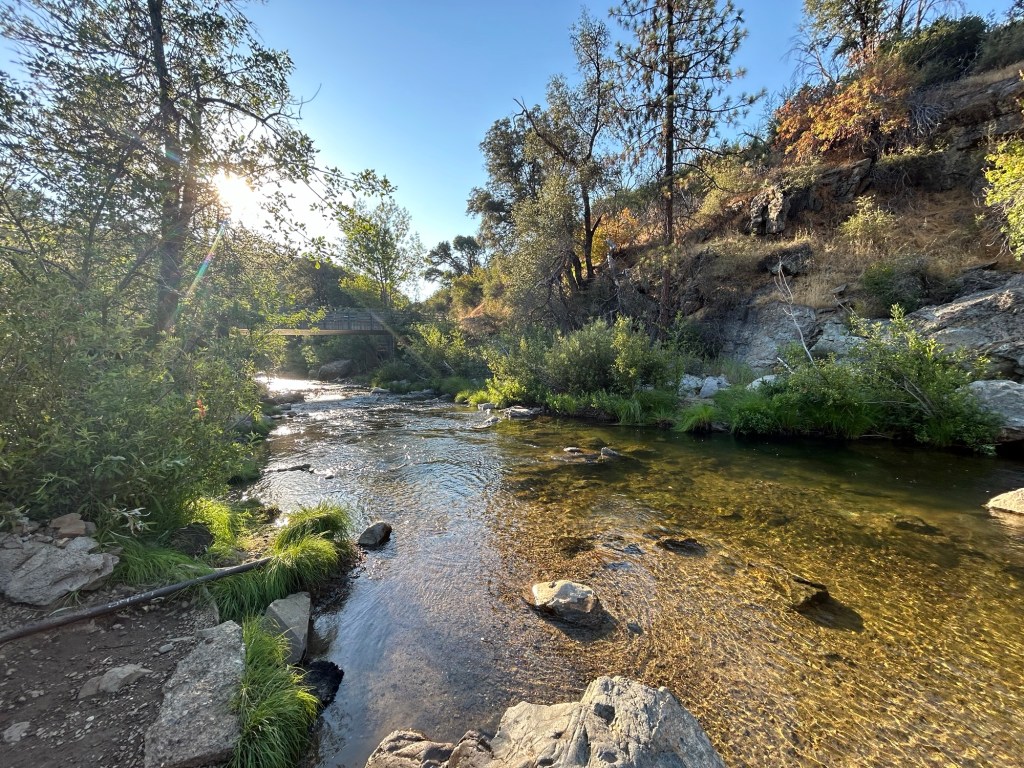
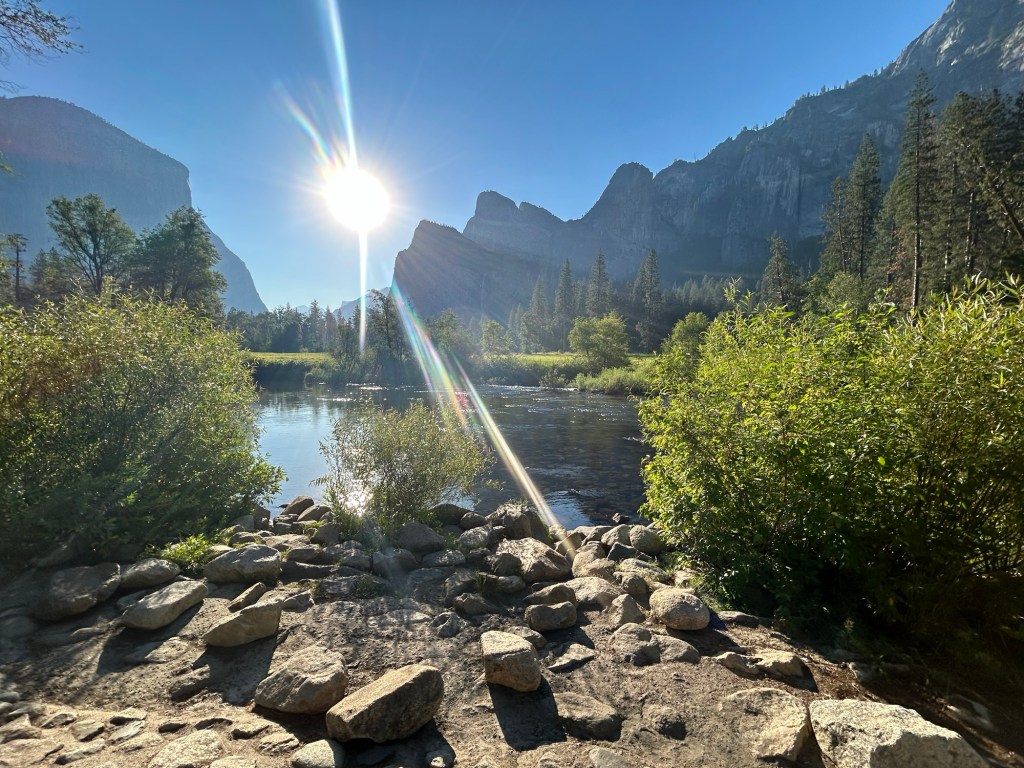
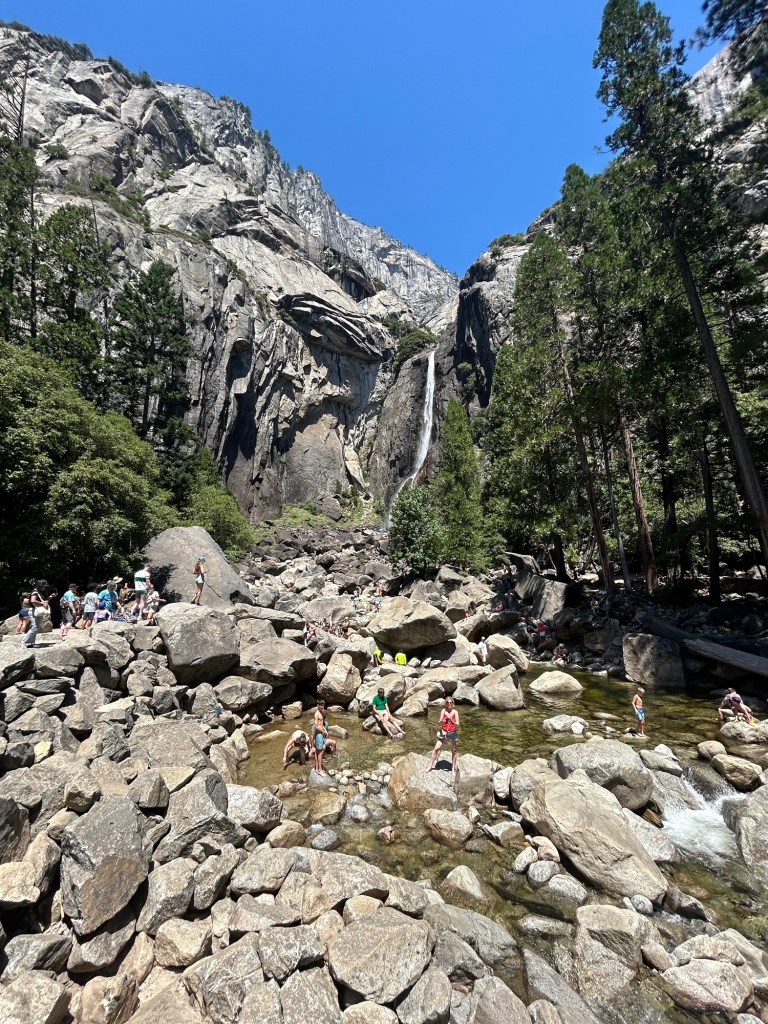
We did a small walk up to Lower Yosemite Falls (very hot and crowded) and down to Swinging Bridge, which was a lovely spot to take a dip.
We turned in early for the night after another swim at our campground, all packed up for our early morning start of Half Dome.
Day 3: Hiking Half Dome
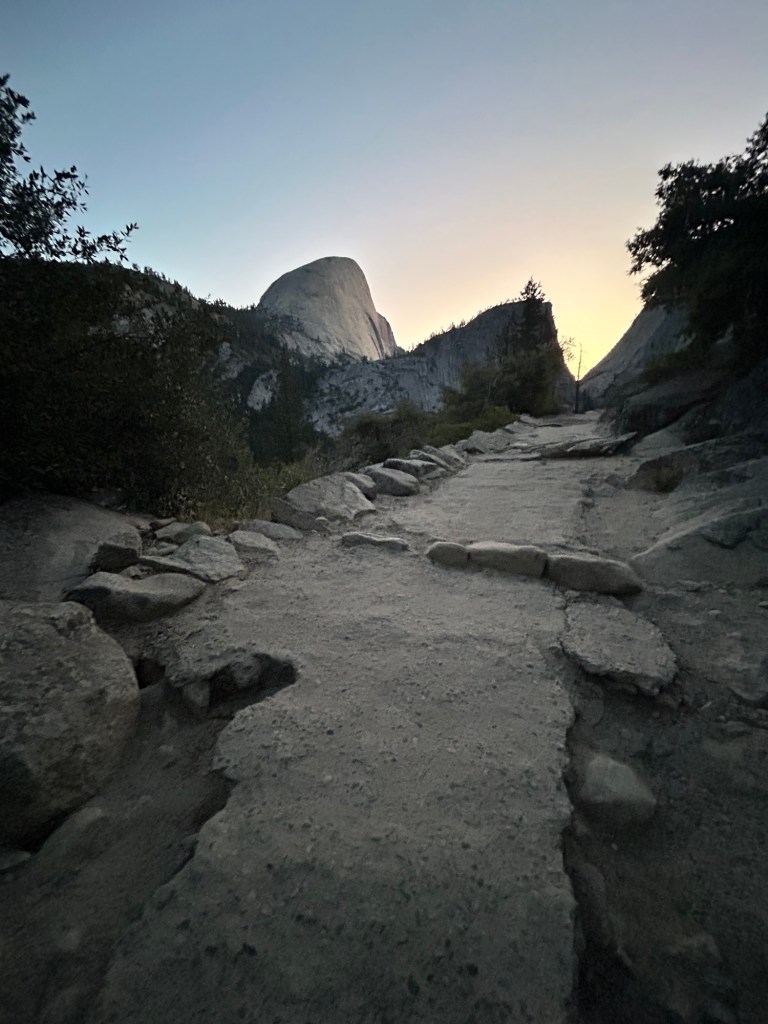
Tuesday was our Half Dome hiking day! We heard that the hike typically took 10-12 hours and was about 18 miles with 5000 ft of elevation gain. We took about 12 hours to do it with breaks on our way up and a long stop at the top of Half Dome and clocked about 20 miles (had a few detours for lookouts) and 5500 ft of elevation gain.
We hit the trail around 4AM and hiked the first hour in darkness with our headlamps, in an attempt to wrap up the hike before the hottest part of the day.

There were more bathrooms / outhouses along the way than I would have expected, though I definitely peed at least a dozen times off trail because I ran through probably 8-10+ liters of water throughout the day.
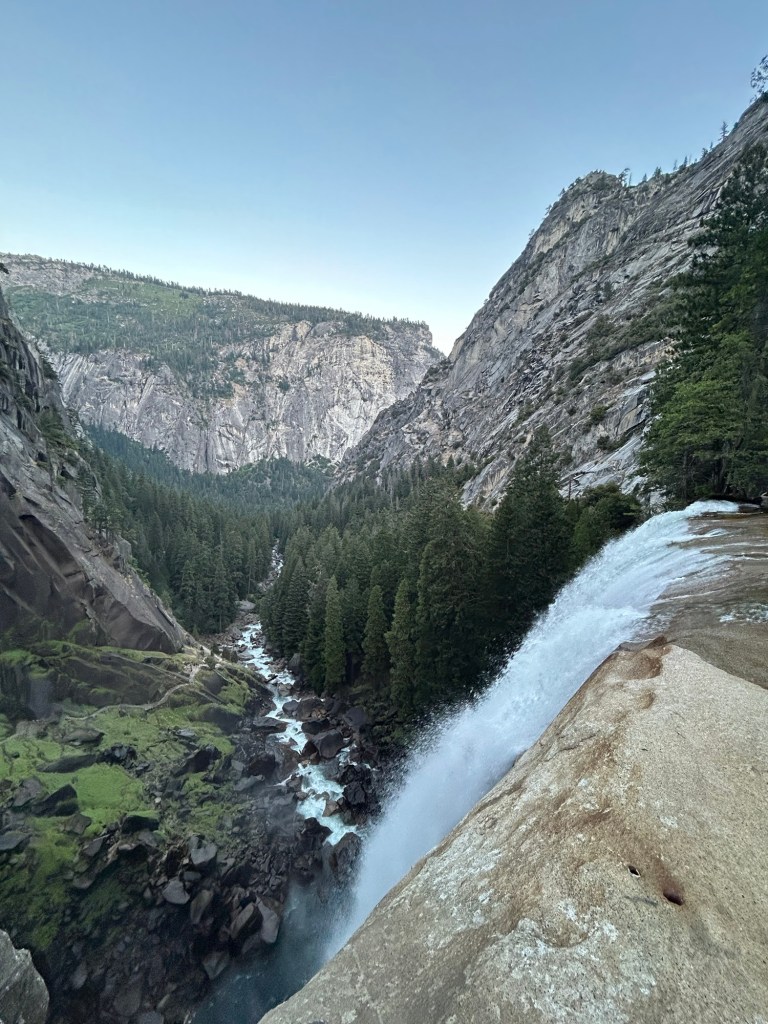
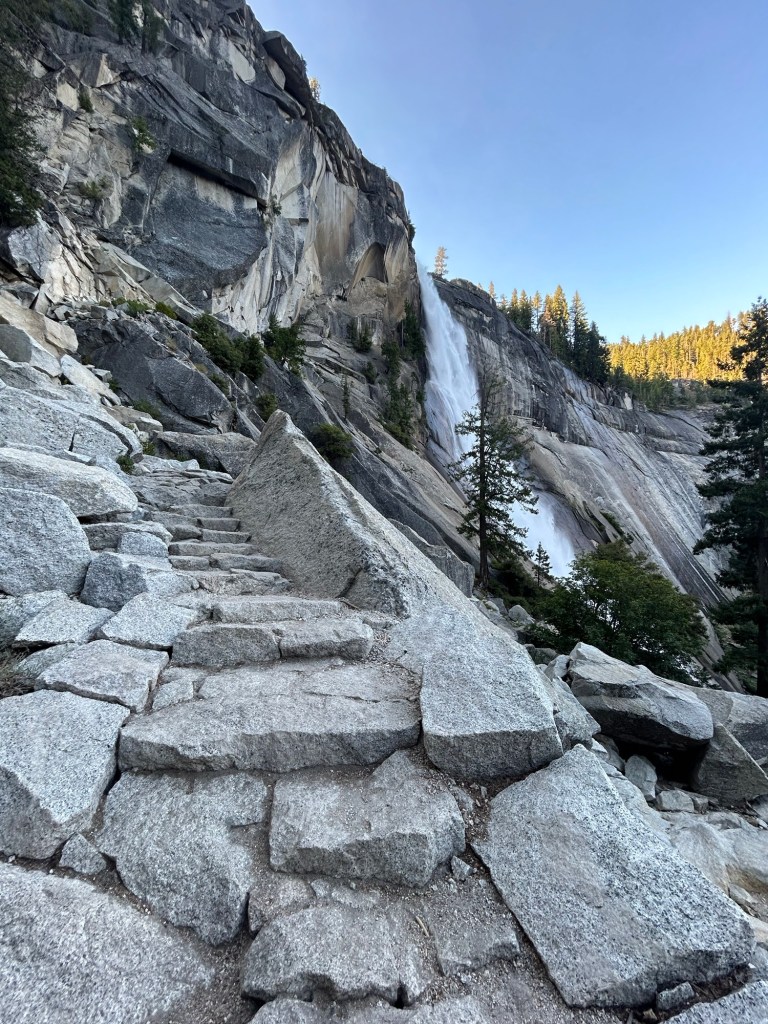
We went up the Mist Trail (somehow missed the stairs by the waterfall but were on it for a good chunk) and came back down the JMT, which was what we had recommended to us. It’s definitely a climb up but I didn’t think it was too punishing and there were stretches of slight downhill and flatness throughout. There is medium coverage from trees, except in the last 4 miles or so, which are fairly exposed and get very hot. The last fill spot is the river by the Little Yosemite Valley campground, so be sure to fill up lots there, because it needs to get you through a very tough 4 miles up and the 4 miles back down.
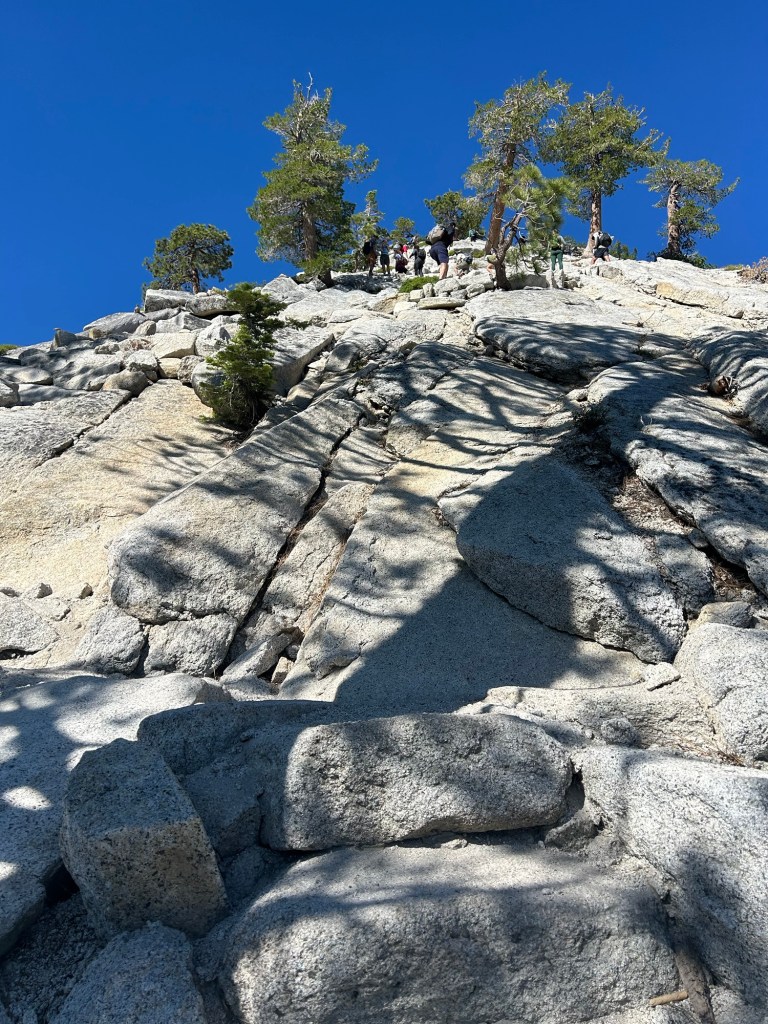
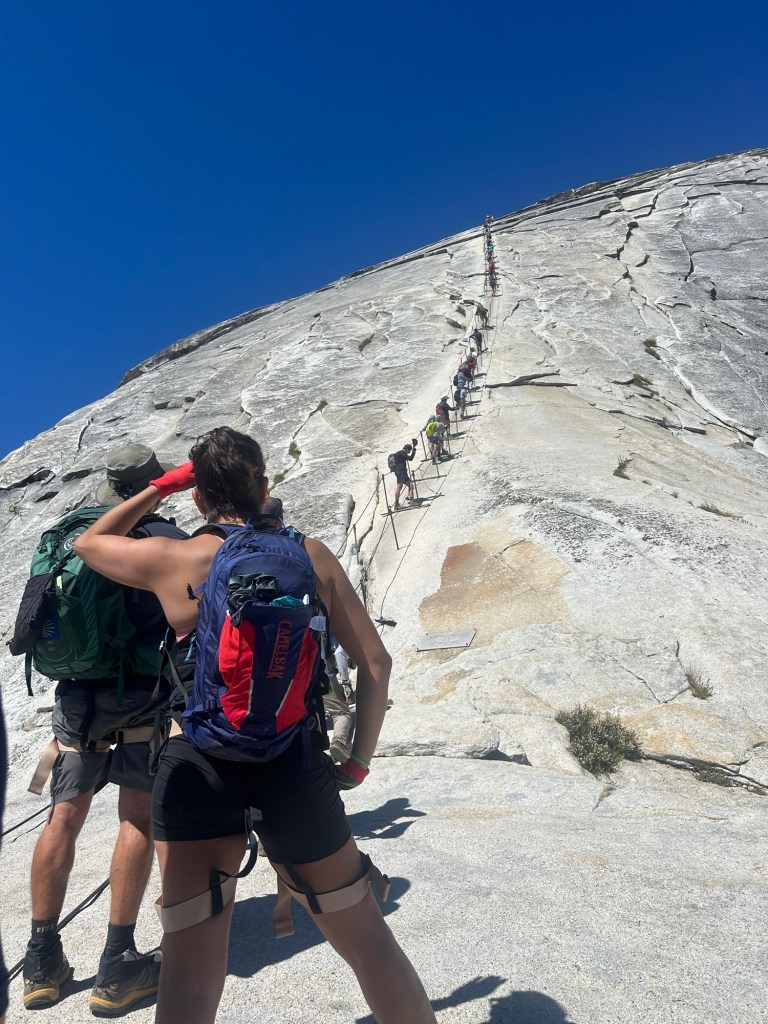
The hardest stretch of the hike is definitely when you start climbing Half Dome itself. Before the cables, there’s a stretch of TOUGH ascent, completely exposed on rock. It’s very hot and steep with only the occasional tree for shade. Poles are especially helpful coming down in this section.
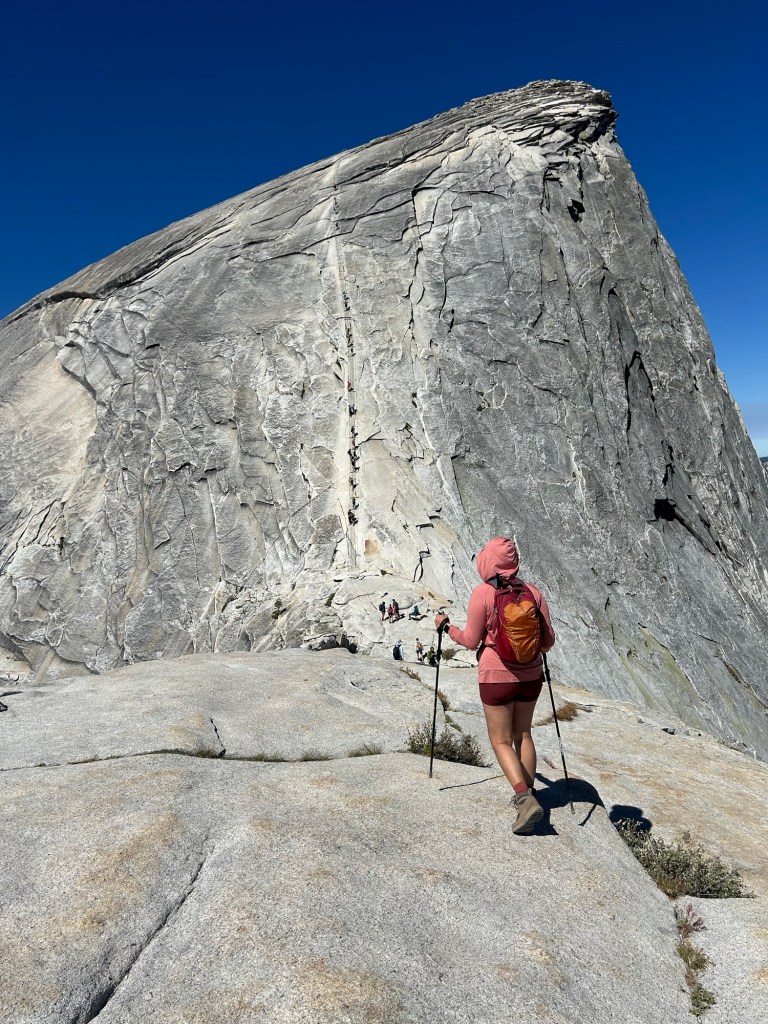
The cables weren’t actually that bad but look HORRIBLE as you come up to them. With the angle you walk up to the cables at, it looks almost completely vertical and impossible but, when you’re directly under it, you can see that there’s a bit of a slope. People were bailing at the base of the cables but unless you’re afraid of heights or get vertigo, it’s not too physically challenging. You DEFINITELY want to make sure you have grippy gloves for it and there was a pile of spare gloves at the base of the climb. There are wooden slats connected to the pole spikes, so you basically push hard up 10-20 ft and then perch on the wooden slat. There were some people using harnesses and clipping into the cables – which I wouldn’t recommend. It seems sketchier and more time consuming to do it that way and maybe 1 out of 50 people took that option. The most difficult part about the cables is that you have to wait for people and folks come up and down the same route, so you have to let people pass. More annoying than physically challenging in my opinion, but you will want to be in reasonably good shape!
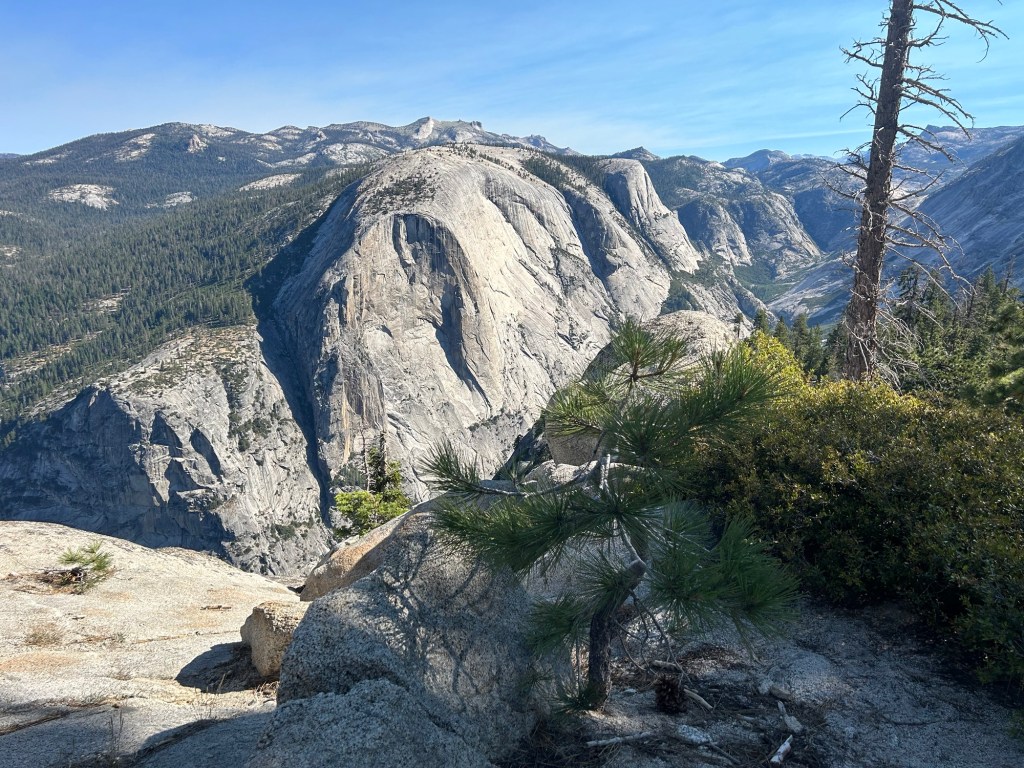
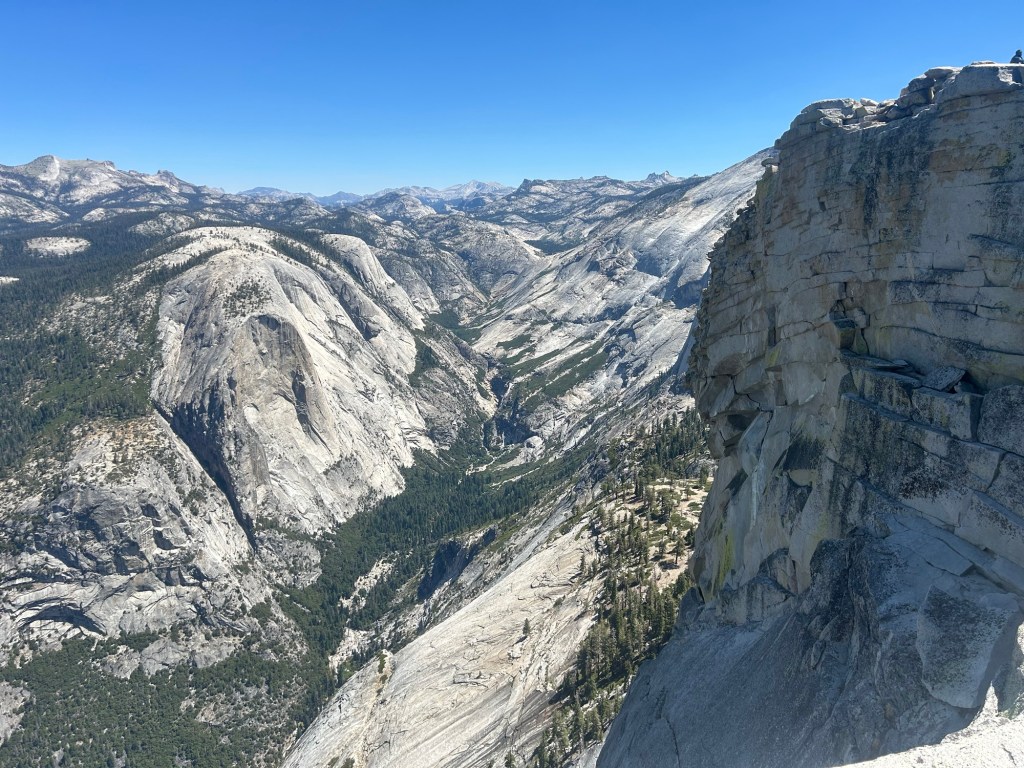
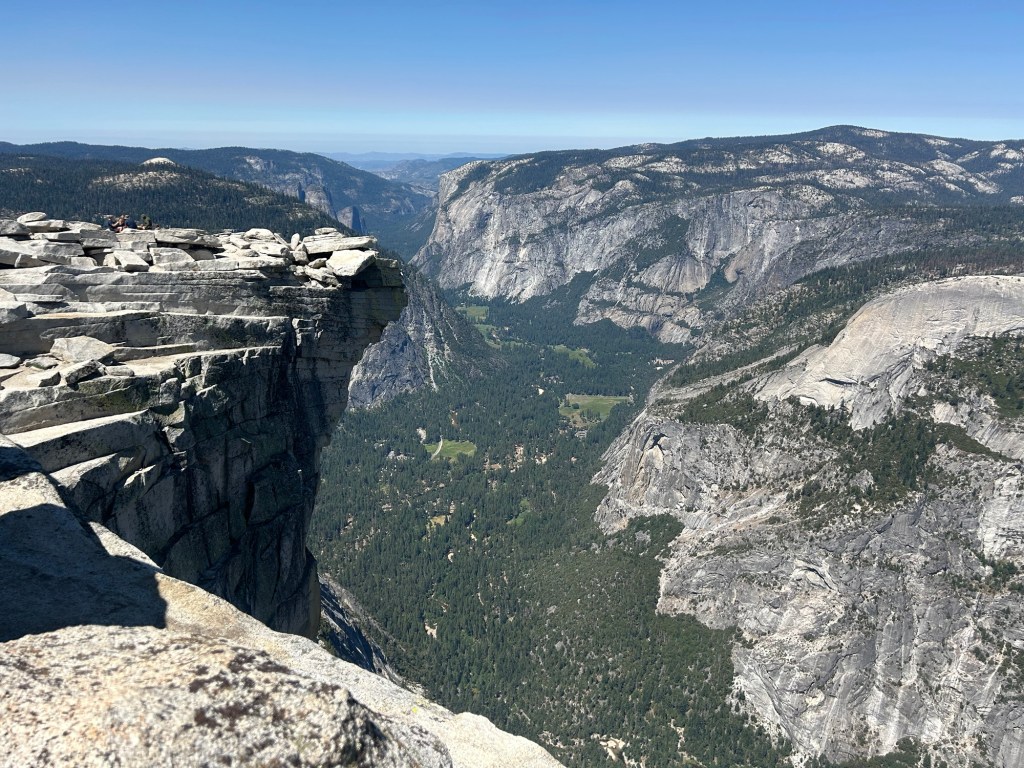
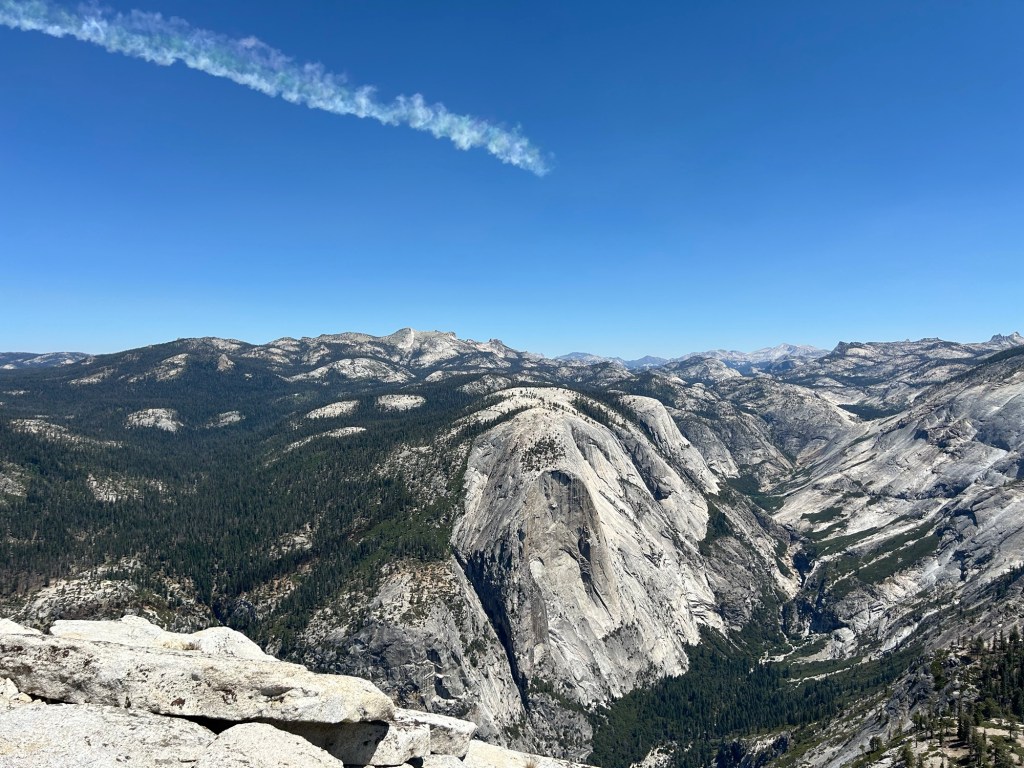
The top of Half Dome was massive and flat and you can walk around for quite a while up there with amazing views from all directions. It’s definitely worth the climb!
I had a bit of a snafu getting separated from my hiking partner on the way down (hence my recommendation for walkie talkies – you’ll get almost no reception on the hike), but overall the day was very successful! I’ve included my tips for Yosemite overall and Half Dome specifically below, including my recommended packing list.
Final Thoughts
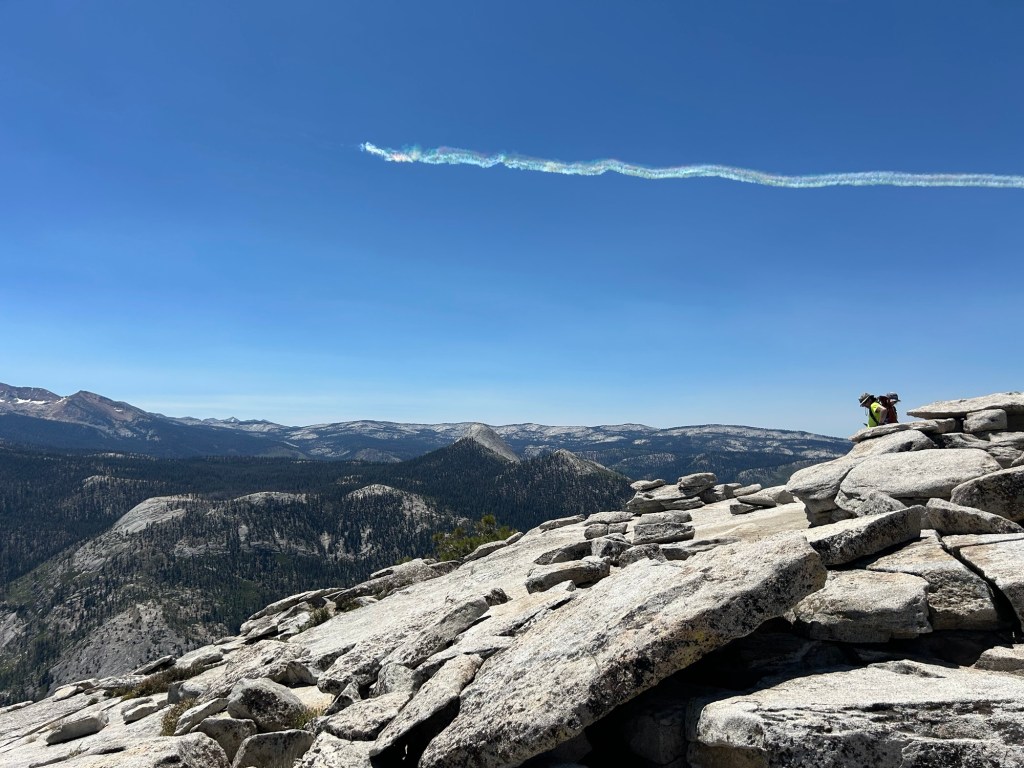
I was expecting Yosemite to be a bit overhyped and overcrowded but I actually loved it! I thought it was much less crowded than Yellowstone (but maybe that was coming in 100+ degree weather) and incredibly beautiful. I didn’t see much in the way of wildlife (apart from some very bold squirrels, ravens, stellar jays, and a few deer) but the natural beauty of the mountains was incredible.
Visiting definitely is inspiring me to take the leap into trad climbing and multi pitch so I can come back and climb – hopefully later this year!
Tips for Yosemite
- Download offline Google maps for the area. In addition to downloading maps for the trail on your trail app of choice, downloading offline Google maps is a MUST because service is spotty around and in the park (honestly got my best reception within the park). So for driving around, offline downloaded maps are super helpful.
- Make your camping reservation EARLY. I’m not sure exactly how early but when I received my lottery results in April the campsites for July were already full. We ended up staying just outside of the park (Thousand Trails Yosemite Lakes) and snagged the last available cabin. It was still an hour drive from the cabin to the main portion of Yosemite Valley (13 min to the Big Oak Flat entrance and another 45 min to the Half Dome area), so factor that in!
- You need a reservation to enter the park in the summer, or just wake up VERY early. In peak season, the park is reservation only for those who want to enter between 5AM and 4PM. If you have the Half Dome permit, you can enter the park the day of your hike and the two days after but, for the day before, we just chose to enter the park at 4:30AM to watch the sunrise from Tunnel View. There wasn’t anyone at the entrance when we got there and we left without them checking us in the afternoon (though I have a National Parks pass) so entering early is a way to avoid the entry fee as well.
- BYO own floaties. I didn’t think of Yosemite as a good place to do a river float, but it totally is! We got the recommendation to enter by Curry Village and get out by the Swinging Bridge but they had stopped renting floats for the summer since the water level was a bit low (and no floats are sold in the park). But you were allowed to use whatever you brought!
- Food was actually pretty good and affordable. This one surprised me! We packed some of our own food but often bought stuff in the park and it wasn’t crazy expensive.
Tips for Half Dome
- Check in with the Wilderness Office. You don’t have to check in at the office but they were awesome for sharing information on trail conditions (e.g. what hours Mist Trail was closed for repairs) and tips.
- Start hiking Half Dome EARLY. We started at 4AM and definitely were not the first folks at the trailhead. Especially in summer, it gets so hot that you really want the early start.
- Maybe don’t hike Half Dome in the summer. Speaking of how hot it gets, maybe don’t? If I were to come back and do it again (which I would), I would aim for a cooler time of year, like September.
- They don’t seem to check Half Dome permits. You should DEFINITELY get a permit if you want to hike Half Dome and print a copy / have a screenshot on you when you do the trail. But no one was checking permits the day we did it and I heard that was somewhat common and there were certainly folks who didn’t have permits and were doing the hike.
- Do the Mist Trail up, the JMT down. This was the advice I’d heard online and got from rangers at the park. The Mist Trail goes up by a waterfall and has stairs and is a bit more steep (so it’s not ideal to go down). Somehow we ended up skipping the first chunk of the Mist Trail and joined up with it later on, but it afforded some great views of Silver Apron.
- Bring a water filter & gloves! Gloves were a must for the cables (though there was a pile of available gloves at the base of the cables). I got these off Amazon for $8. Definitely bring a water filter as well! It blew my mind that some folks didn’t bring one as there was very little potable water on the train (only within the first few miles). The last water fill is at the Little Yosemite Valley campground (at the river), about 4 miles from the Half Dome summit, so you need to fill up there.
- Bring electrolyte tablets / Pedialyte mix. This was key and kept me actually semi hydrated throughout the hottest parts of the day.
- Secure everything INSIDE your backpack when climbing up/down the cables. Within just the climb up / down the cables, we saw three people lose water bottles that slid out of side pockets.
Recommended Packing List for Half Dome
- Phone with GPS / downloaded maps & power block (the trail is generally well marked and straightforward but there were a few points I was glad I had the GPS map for)
- Printed copy of your Half Dome permit
- Walkie talkies (if hiking with a partner)
- Headlamp (for the early morning start)
- Hiking poles (might necessitate checking your bag, or you might be able to get them through TSA)
- Gloves for the cables
- Hiking shoes / socks
- Sunglasses
- LOTS of sunscreen
- Bug spray (I’m a big fan of DEET)
- Water filter & at least 2L of water storage (I’d recommend the Sawyer Squeeze paired with the Cnoc filter bag, because I hate the Sawyer bags)
- Electrolyte tablets / Pedialyte
- Lots of snacks and food (squeezy peanut butter recommended)
- Buff / bandana
- Leukotape
- Trowel and toilet paper (just in case you need to poo away from the outhouses)
